IMPORTANT SAFETY WARNING This is NOT a safety cover. It is not designed to support the weight of people or animals—do not walk on it.
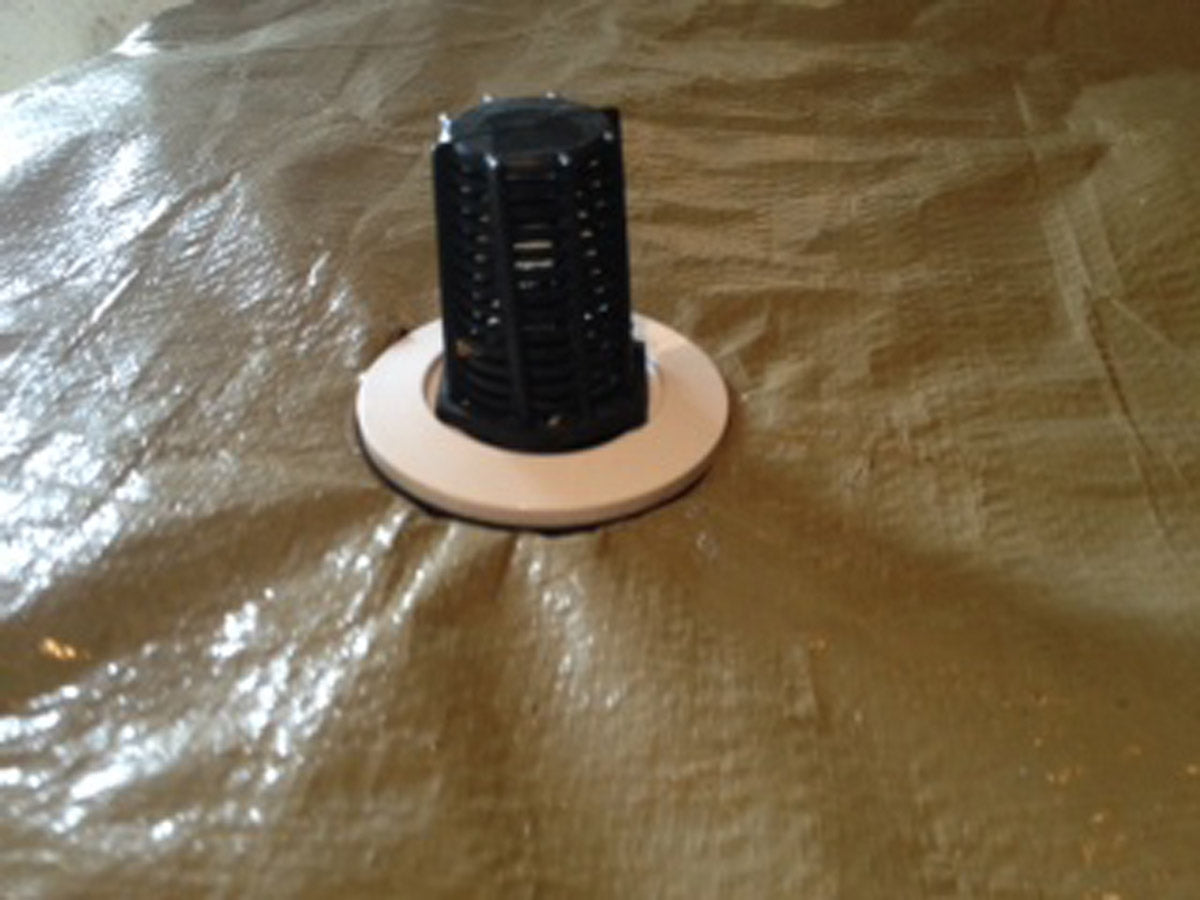
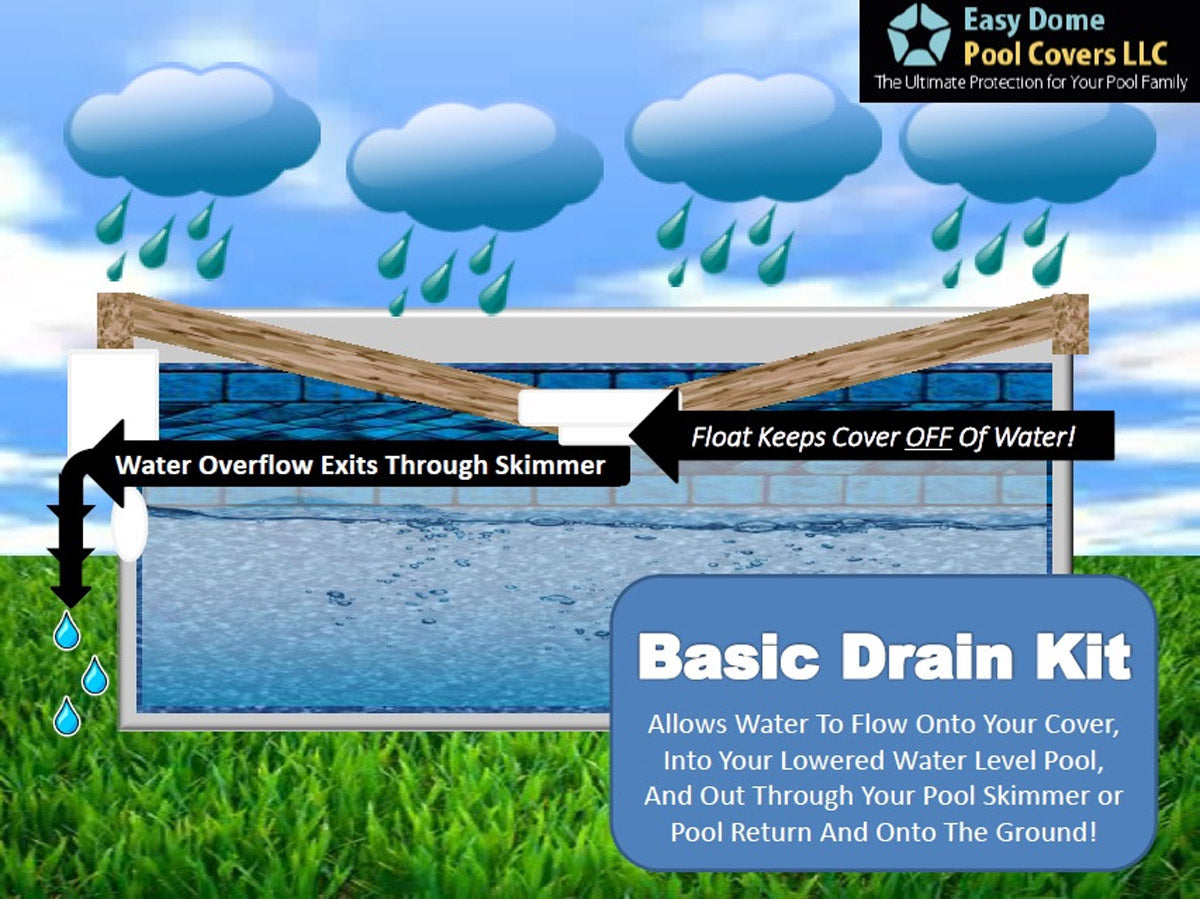
These covers install quickly—typically in about 30 minutes with two people. Every cover includes a Basic Drain Kit to remove rainwater from the cover. This is optional, the cover will be marked in the center if you intend to use the drain.
Preparation Before Installation
· Lower the pool water level below the skimmer or return fitting (whichever you prefer).
· Ensure the pool water is properly balanced and winterizing chemicals have been added.
· Inspect the pool for sharp edges that could tear the cover. Cover any sharp areas with duct tape or similar protection.
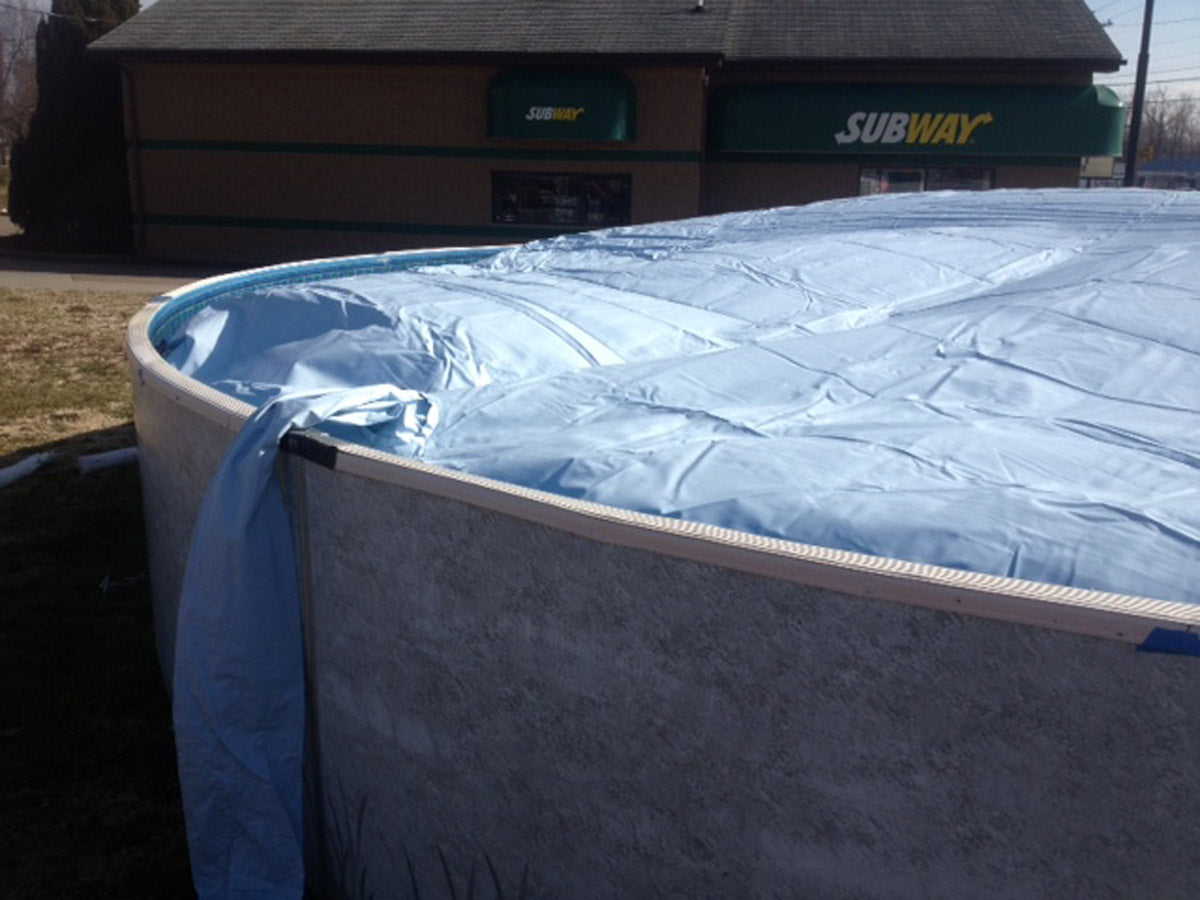
Step 1: Positioning the Cover
1. Lay the cover out flat on the ground in front of the pool (black side down if applicable, based on typical designs).
2. Locate the center and install the included Basic Drain Kit into it now by cutting a hole in the center of the cover that is marked (before pulling the cover over the pool). If you choose not to use the drain, you’re ready to go
3. Identify the two straps on the cover that are only 2 feet apart—these will straddle your skimmer. Adjust the cover's position so these straps will align on either side of the skimmer once the cover is in place.
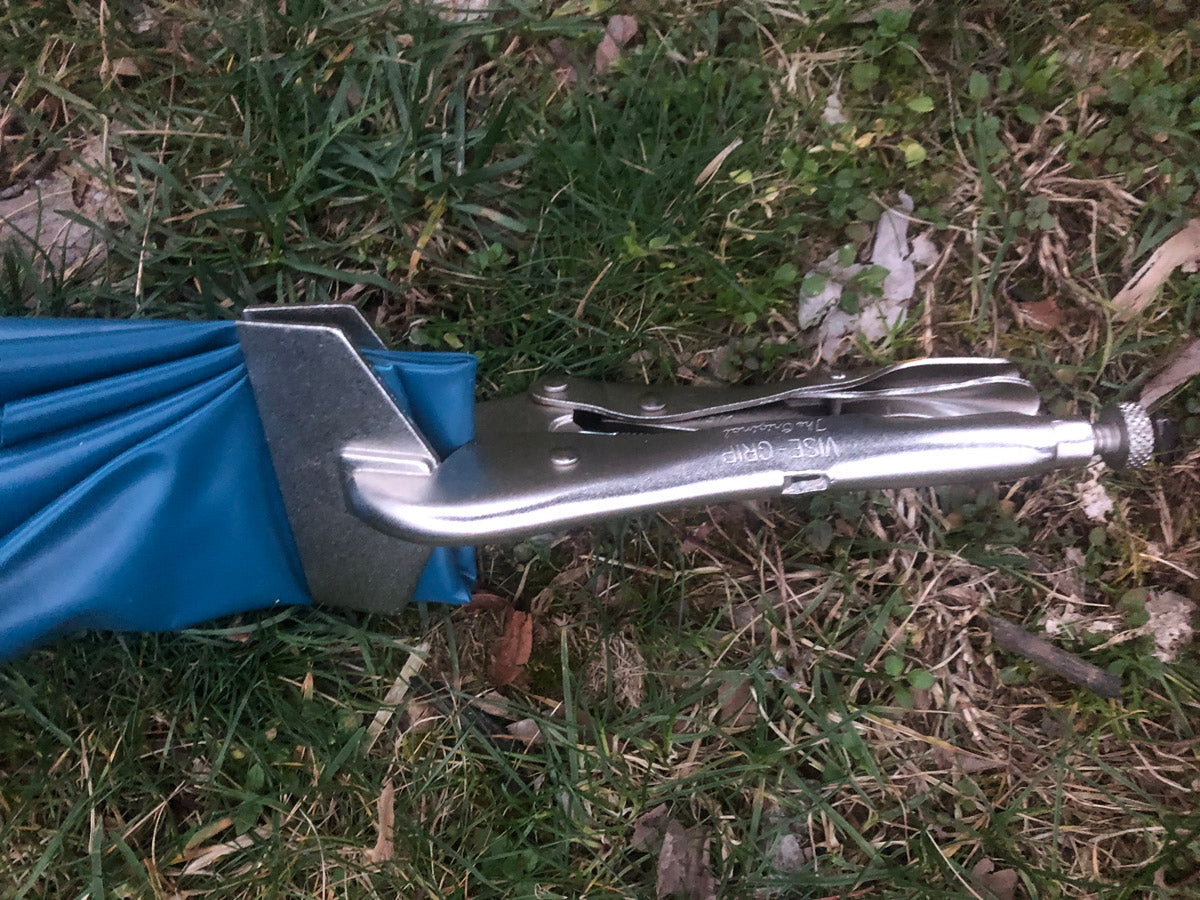
4. Fold back the front edge of the cover a few times to make it wider and easier to grip.
5. With a helper, walk the cover over the pool while keeping it taut. Gently shake it up and down to minimize water getting on top during installation.
6. Once over the pool, adjust so all edge pockets hang evenly around the perimeter and the 2-foot-spaced straps are properly positioned around the skimmer.
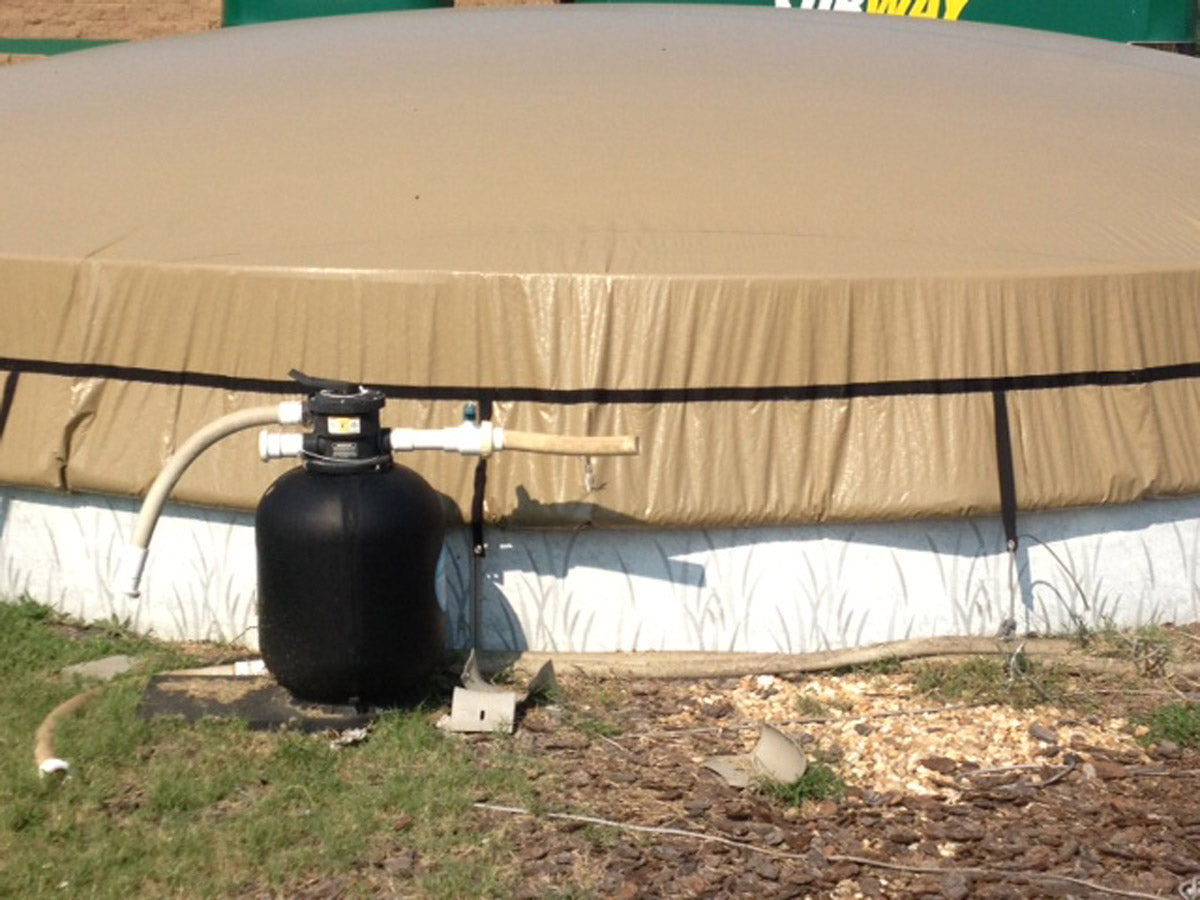
Step 2: Securing the Cover
1. Before adding weights, place the provided post cap fabric pieces over each top rail/post cap to protect the cover.
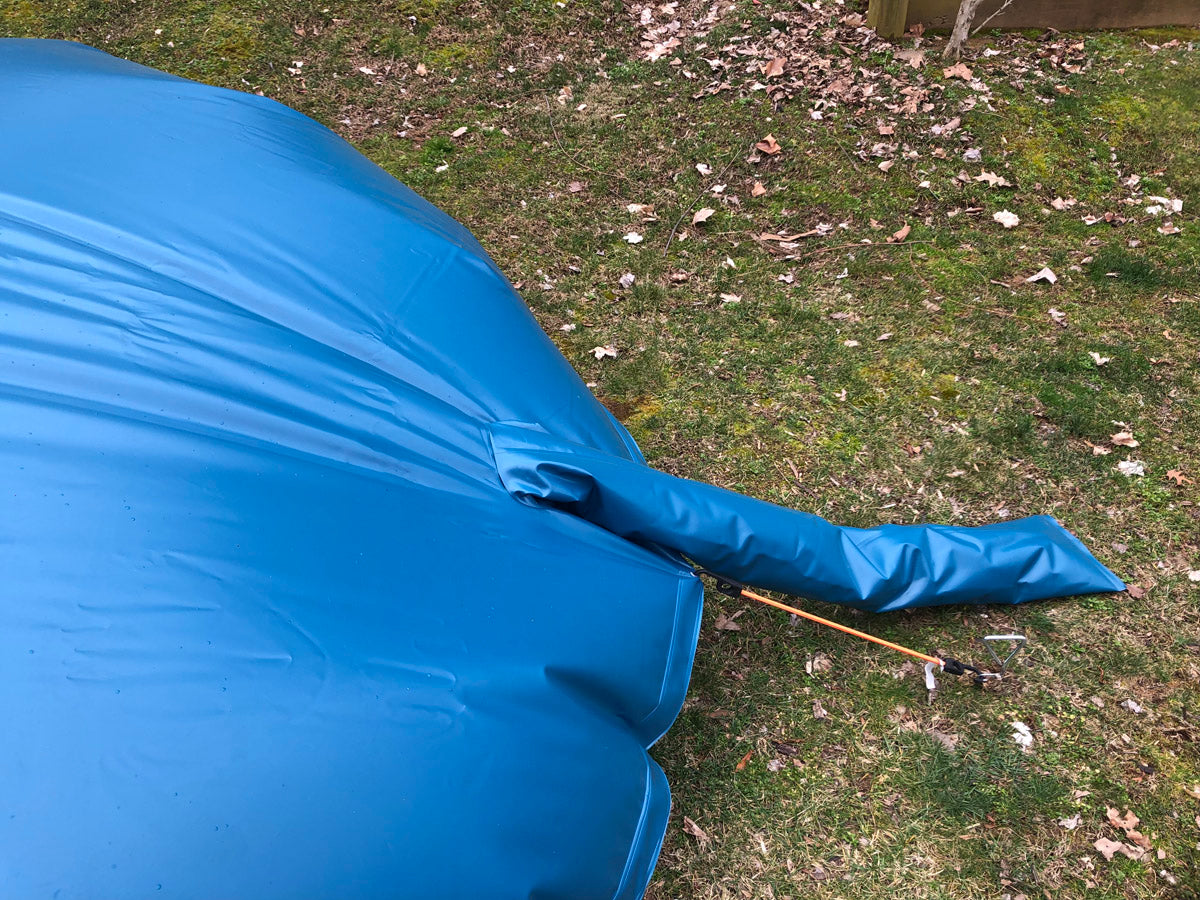
2. Install screw-in stakes (recommended: every other strap, or every strap in high-wind areas) around the pool, positioned up to but no more than 1 foot from the edge.
3. Hook the bungee cords (included or your own) from each strap to a stake (or deck anchor if applicable). Adjust so the cords are taut but not overstretched—you may need to wrap excess cord around the stake. Keep the cover centered as you work.
Step 3: Installing Sand Tubes (Included with Every Cover) (Use these instead of—or in addition to—water bags.)
1. Place the sand tubes (filled with sand or pea gravel—pea gravel highly recommended) into the pockets in an alternating pattern to maintain center balance.
2. Once all tubes are in place, the cover should feel tight and hang evenly.
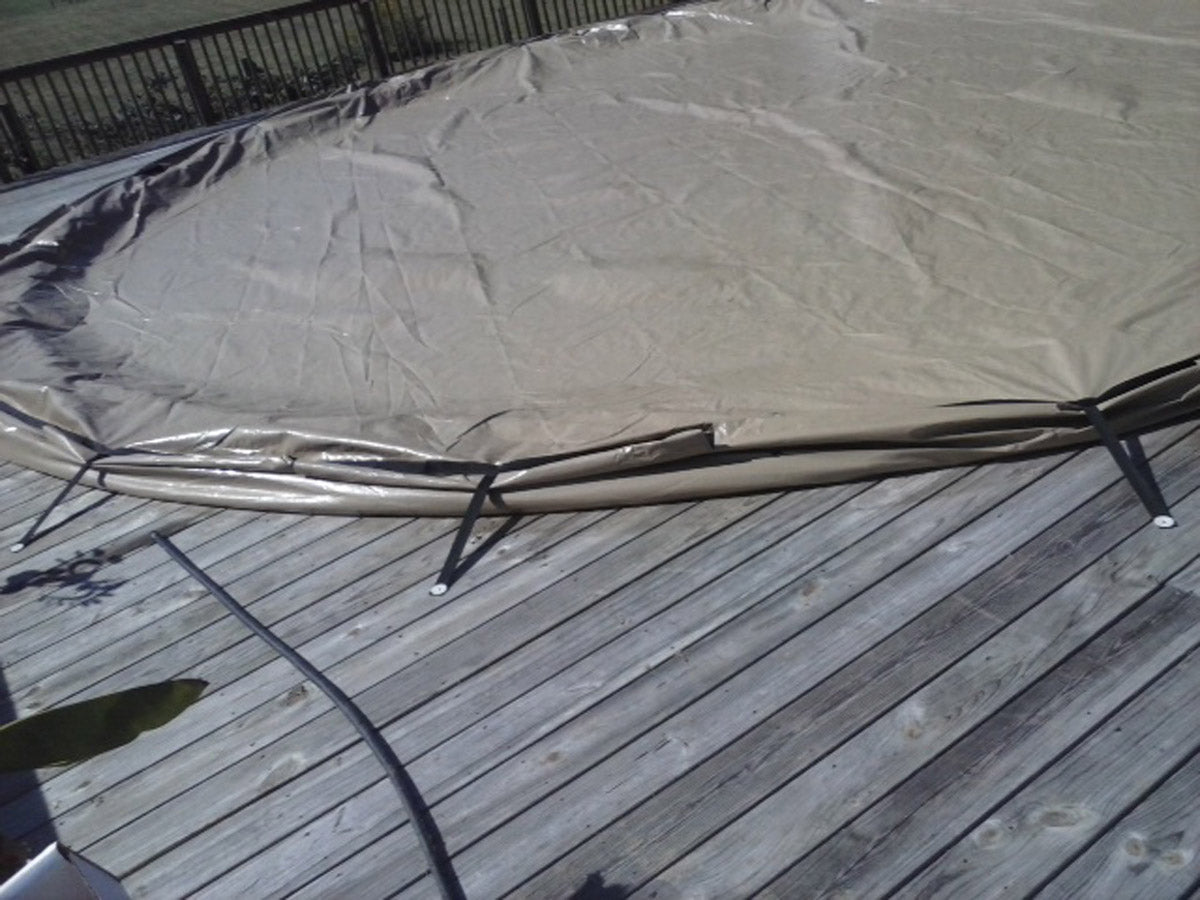
For Pools with a Deck (Partial or Full)
· Notch the cover where it meets the deck: Cut upward from the bottom edge with scissors until you reach the horizontal binder seam (avoid cutting the black binder unless necessary). This allows the pocket to lay flat on the deck without fraying—the material is designed for this, and it won't void your warranty.
· Place sand tubes or water bags in the deck pockets first.
· Pull the black strap over the pocket tightly, then attach a bungee cord to the strap and secure it to a deck anchor. Keep the bungee taut but not fully stretched (it must allow stretch under heavy load).
· Use double sand tubes on deck areas for better hold.
· Consider additional fasteners for deck attachment.
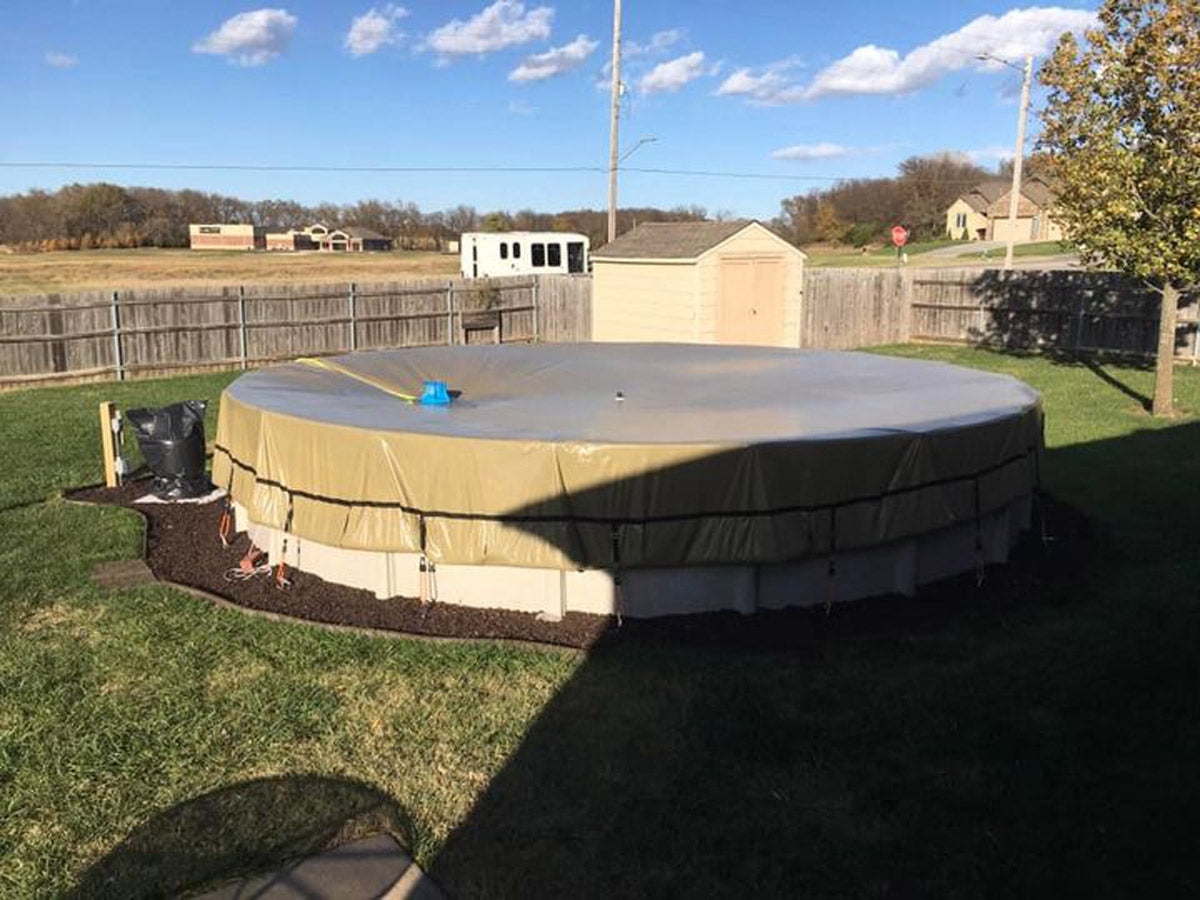
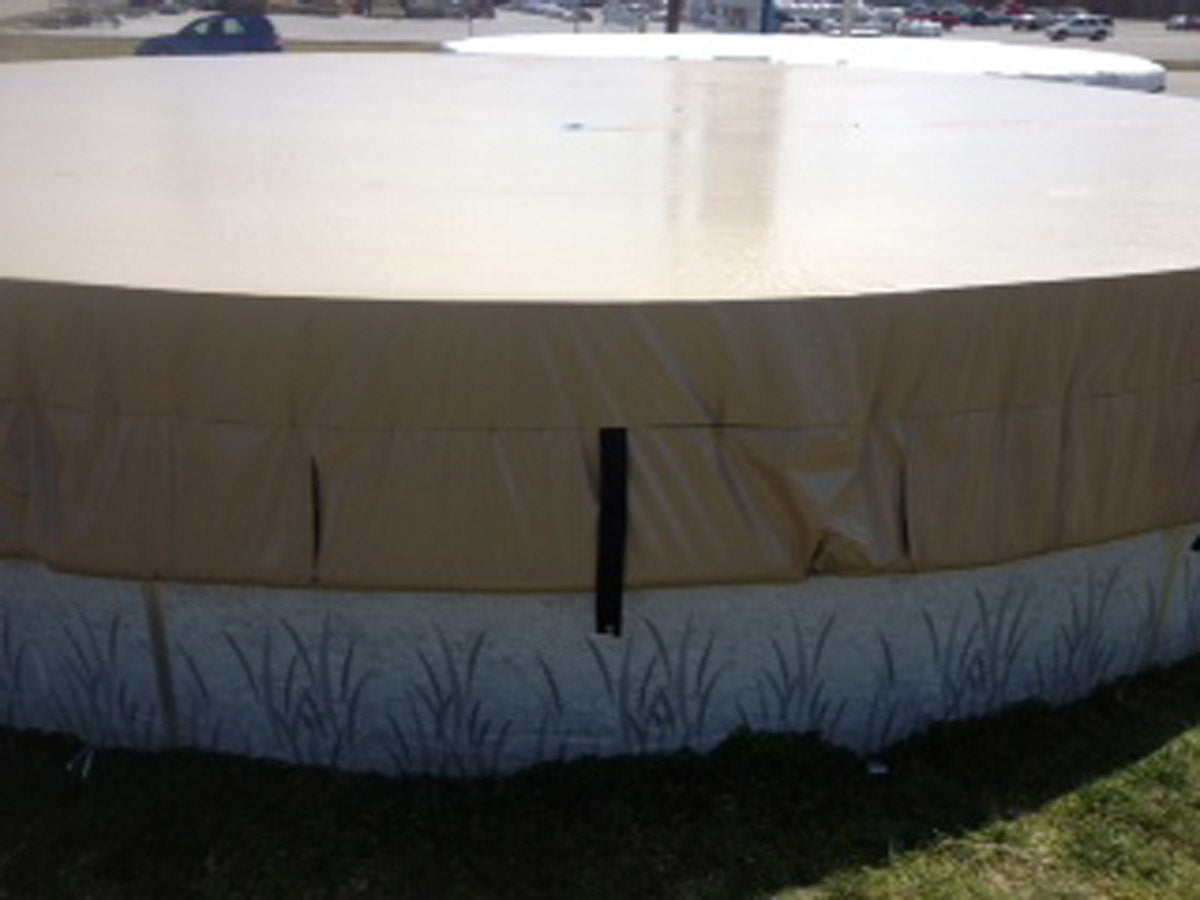
Step 4: Final Adjustments
· Readjust bungee cords to remove any slack after adding weights. Ensure the cover remains centered and hangs evenly.
· Important: Do not over-stretch the bungees—they need flexibility to handle heavy snow loads without tearing straps.
· Check and retighten straps monthly, as the cover may settle or stretch over time.
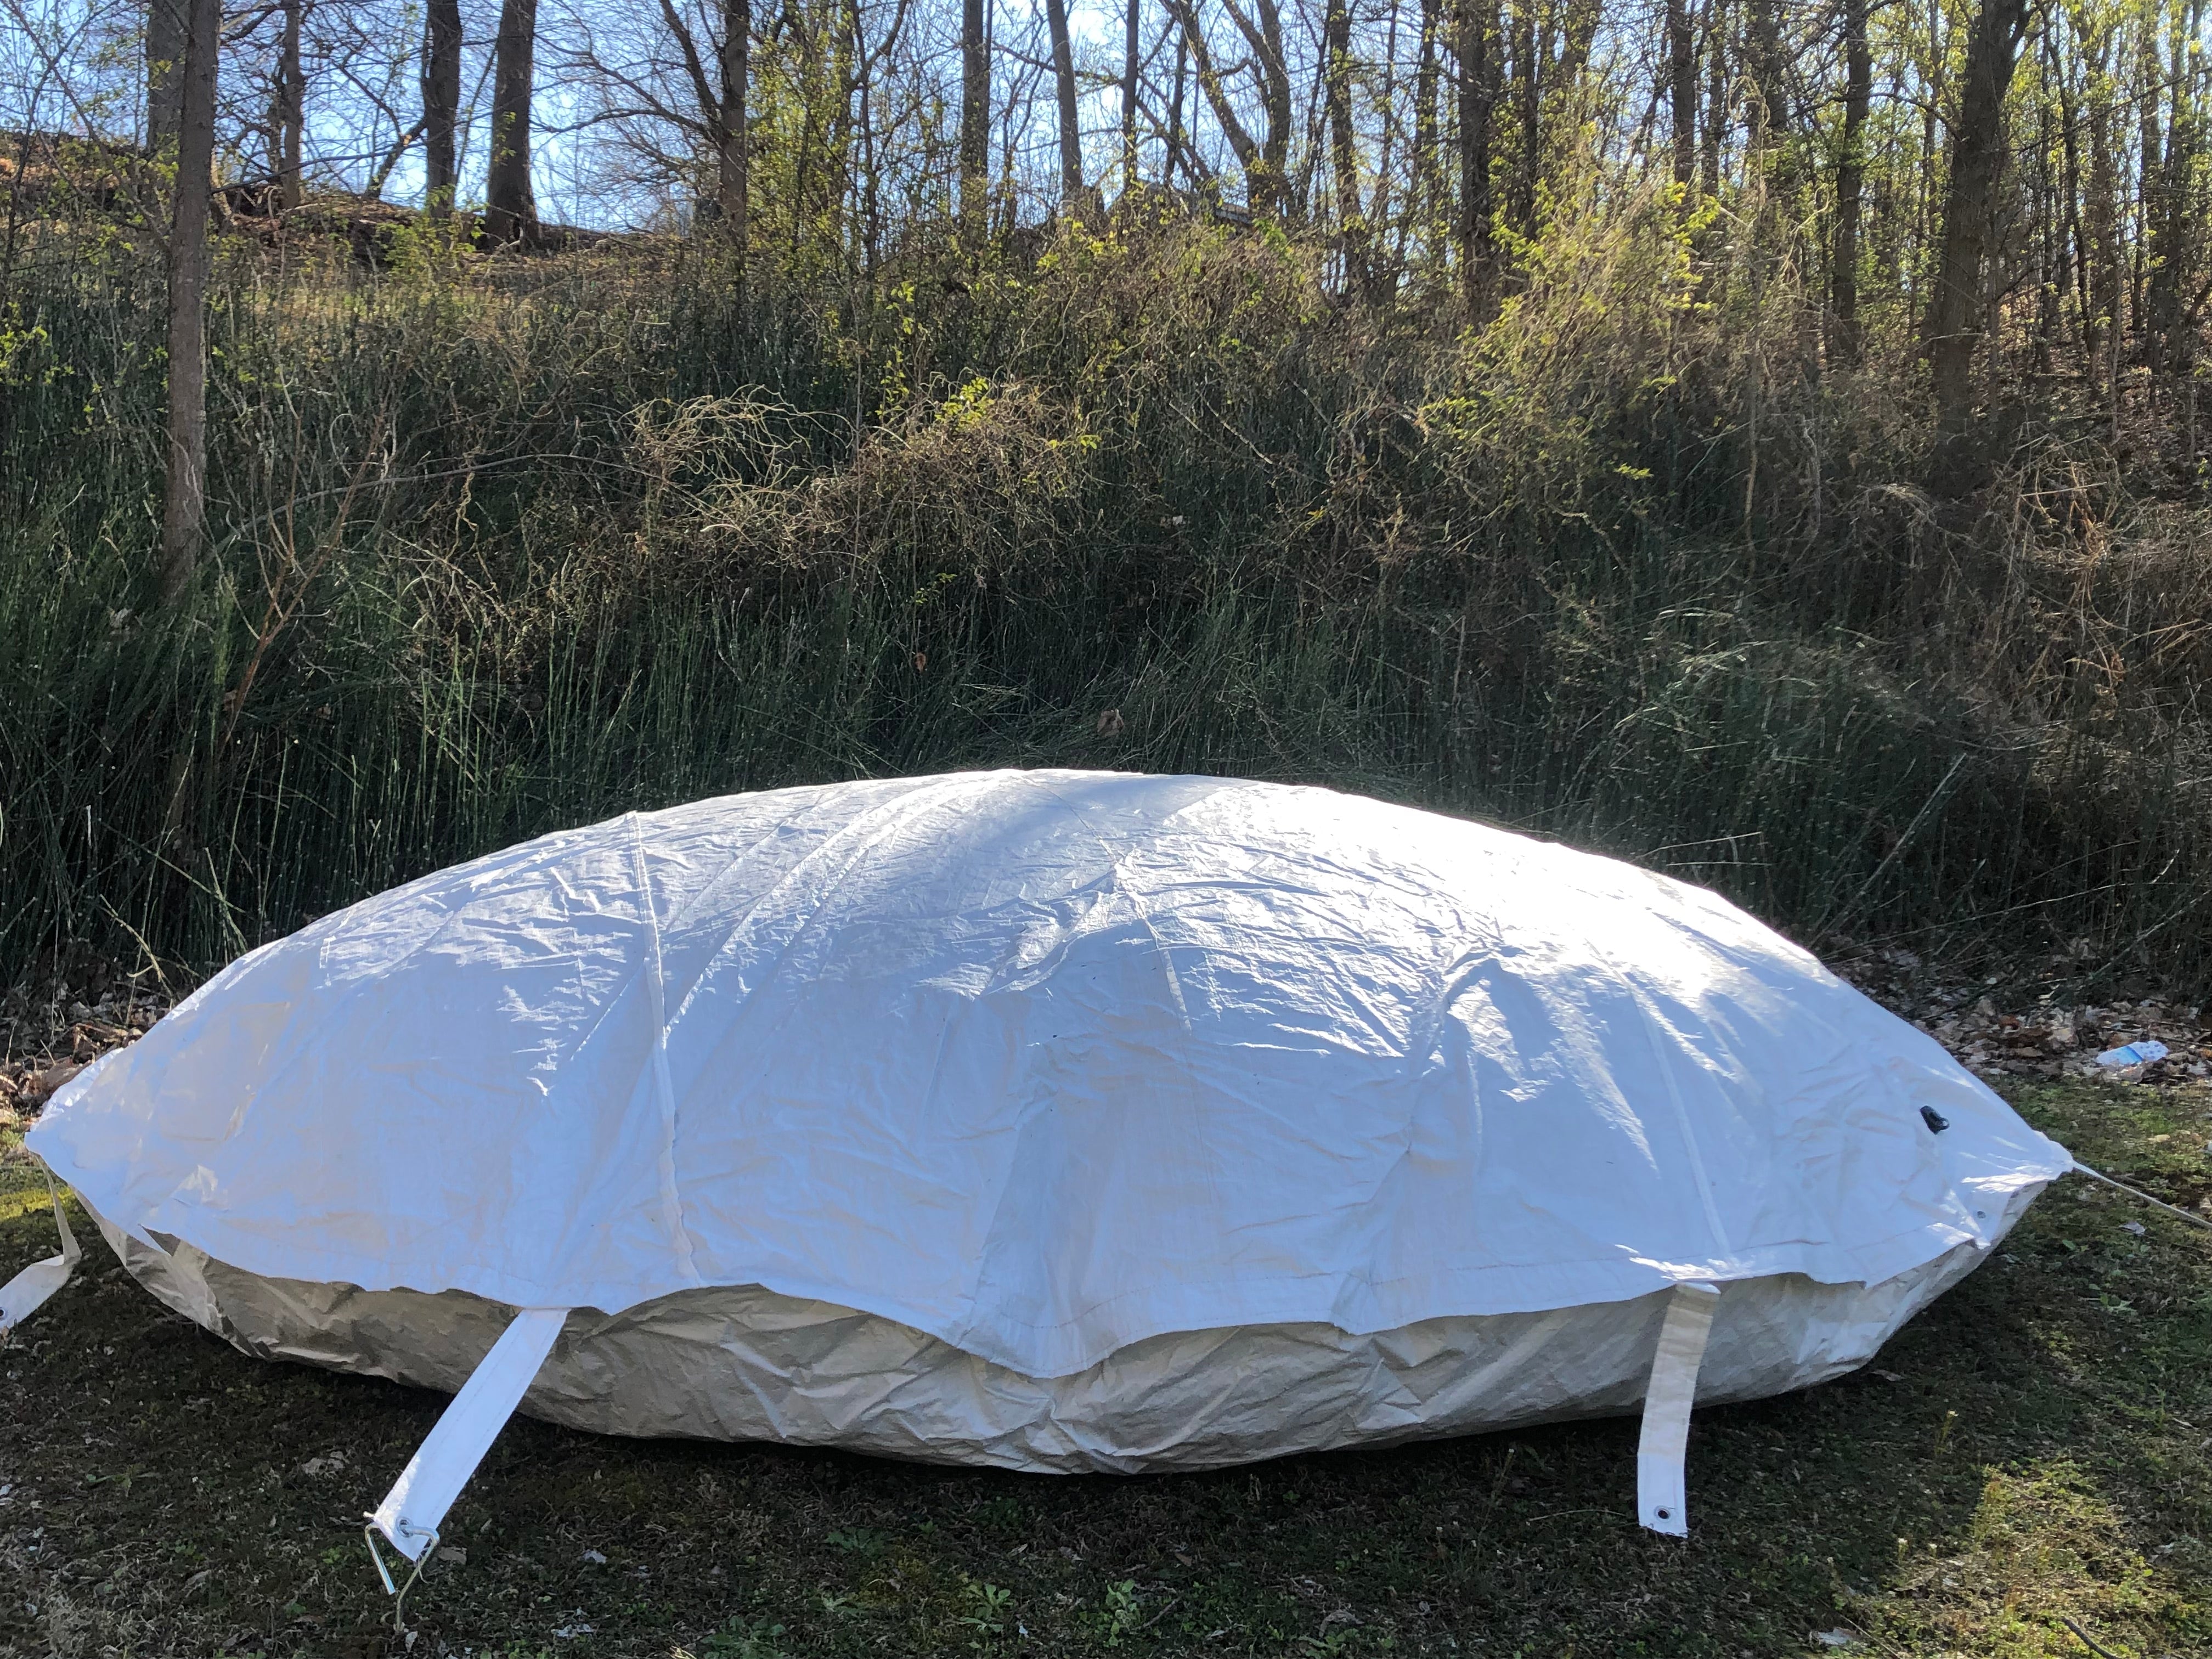
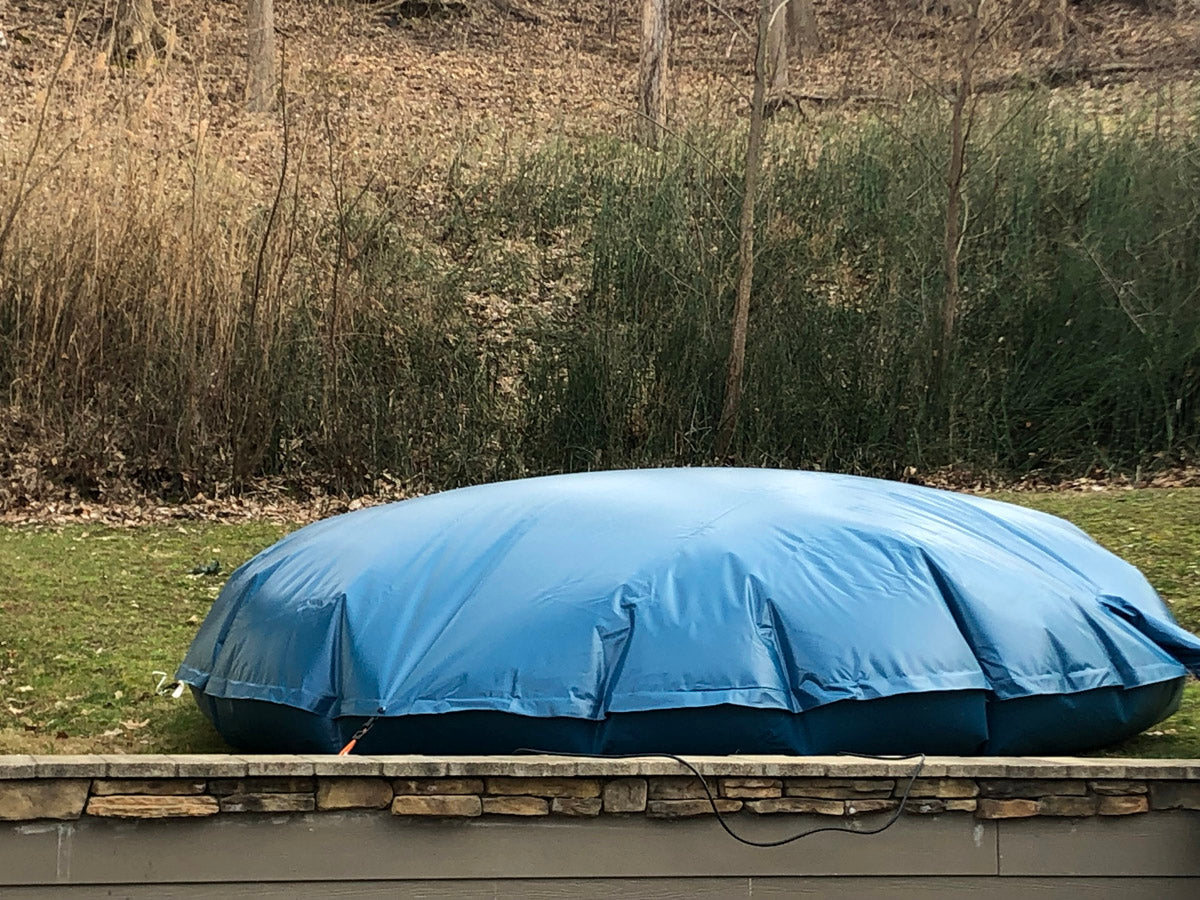
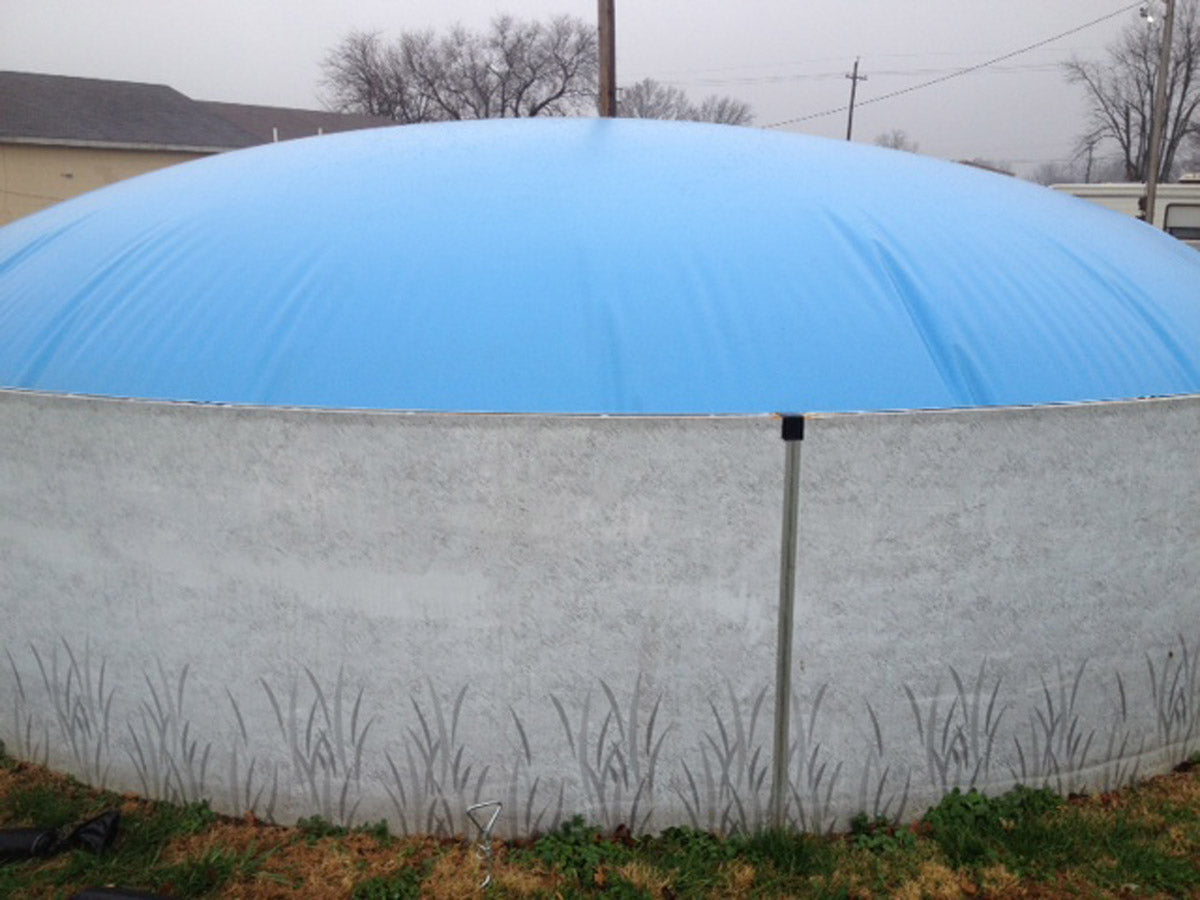
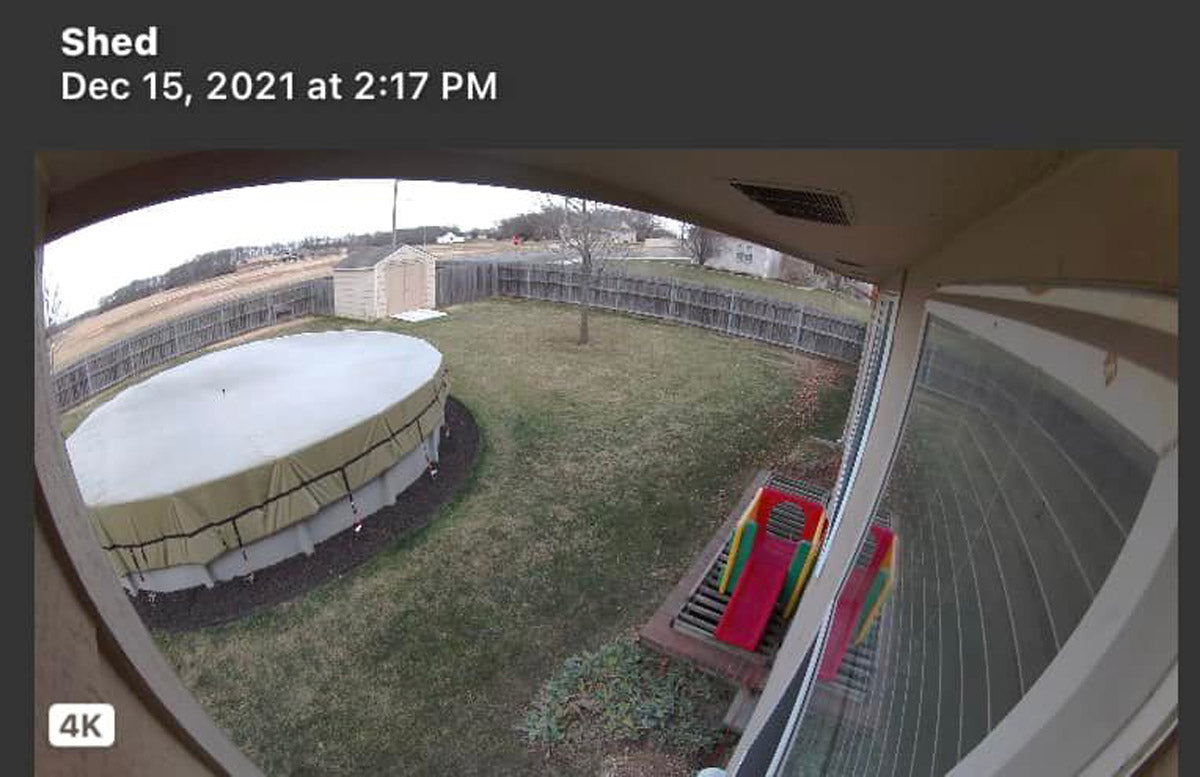
You're Done! For a 24-foot round pool, two people can usually complete this in about 30 minutes. The cover is now secure against wind. Remove leaves/debris with a pool pole,
brush, or blower. Never allow water to accumulate on the cover—keep it drained via the center drain.
Spring Removal and Storage
1. Remove sand tubes or empty water bags (unroll ends and lift to drain; you can leave empty water bags in the pockets if desired).
2. Clean the cover: Spray with a pool cover cleaner, scrub off dirt/debris, rinse, and let dry completely.
3. Fold and store in a sealed container (e.g., large garbage can with lid) to protect from pests.
4. Store sand tubes away from sun and weather exposure.
If you have questions or issues, contact Easy Dome Pool Covers LLC at 270-827-5553 or easydome@gmail.com.